Modelling The Rocks and Lighthouse
The bulk of my week was spent perfecting and making changes to the 3D models I will be using as a part of my animation. After spending about a week tinkering around in Maya, getting to know the tools and using Matt's E-studio tutorials as a form of guidance, I finally started on the final models which are going to be used in the final animation, for which I created design sheets to use as reference.
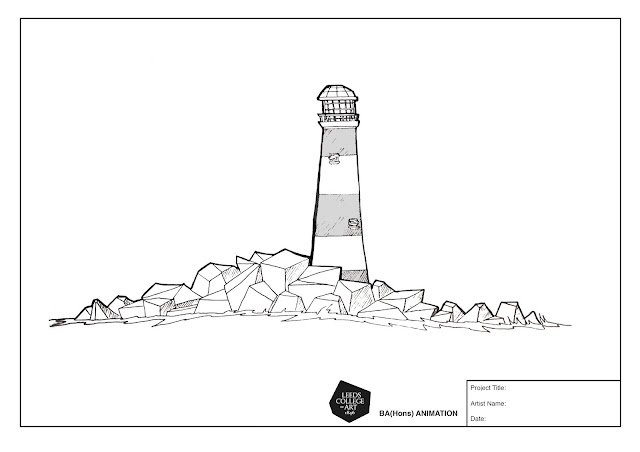
I decided last week against going with a low-poly aesthetic for the lighthouse itself, however the rocks around the lighthouse will remain low-poly as originally planned. The lighthouse took up the majority of the time I spent this week modelling in Maya and consists of 5 main meshes, the cylinder, the railing, the windows, the roof and the windows. For the main cylinder I took a polygon mesh with 8 subdivisions around the side and scaled it along the y axis to create a long cylinder shape. I then scaled down the top face so that the main body of the lighthouse appears thicker towards the base, as most lighthouses do in real life. I then resized and extruded the top face in order to create the ledge and deleted the centre inside of the top face in order to ease the UV mapping process further down the line.
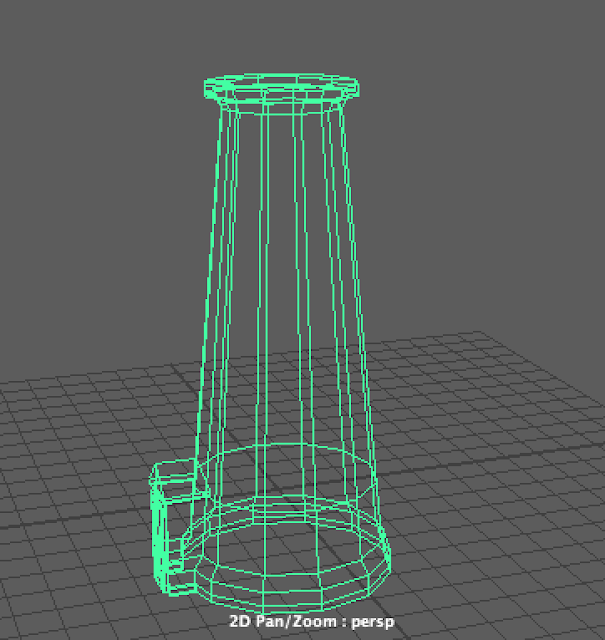
At the bottom of the cylinder using I also added edge loops I extruded a small rectangle out the base of the cylinder which would act as a doorway, which later I would discover massively complicated things in the UV Mapping stages.
After creating the main body of the lighthouse, I moved on to create the railing which was modelled from a pipe polygon primitive, with faces created using the edge loop tool. The windows were also created from pipe polygon primitives, for which I was required to create multiple new faces using the edge loop tool and use the 'difference' tool, to create holes.
As for the roof of the lighthouse, the process was a lot simpler, using a singe polygon primitive of cylinder and extruding the top face, smaller and smaller several times until it formed a sort of domed roof, on which I added a small spire with more extrusion.
Some of my main visual inspiration for the rocks was taken from the work of painter Ryan Browning whose paintings of geometric rock-formations suits a 3D style quite nicely. I have followed Browings work for years now and have been looking for a way to implement elements of his style in one of my animations for a while now. Observing Browning's paintings I feel this style of rock formation works best when contrasted with more figurative, realistic surroundings, which in the case of my animation takes the form of the lighthouse.

It required a lot of trial and error in order to get the rocks to look the way I wanted. Originally I tried creating the rocks from a single polygon plane and adjusting the vertices, using the edge loop tool to create more subdivisions which could be extruded, moved and rescaled. However, this approach led to the rocks having much softer edges than I had anticipated, as opposed to the hard edges and defined faces present in Browning's paintings which I was trying to achieve. I attempted to remedy this by experimenting with different lighting in order to bring out the contours of the mesh and more clearly define the shape, but to no avail. So, instead I chose a different approach.
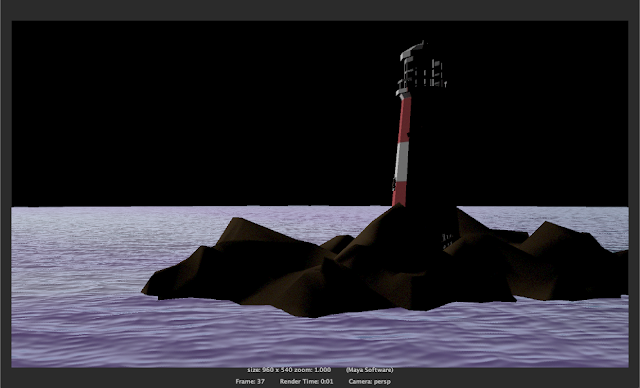
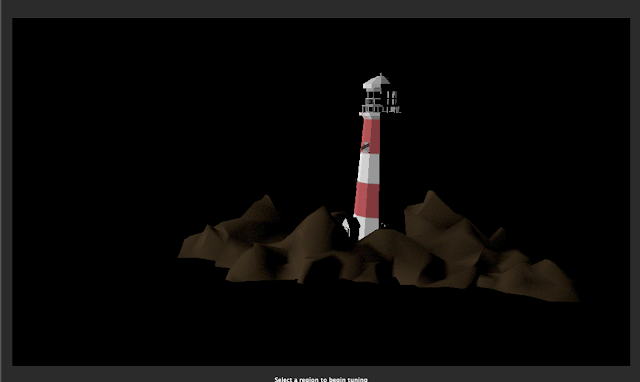
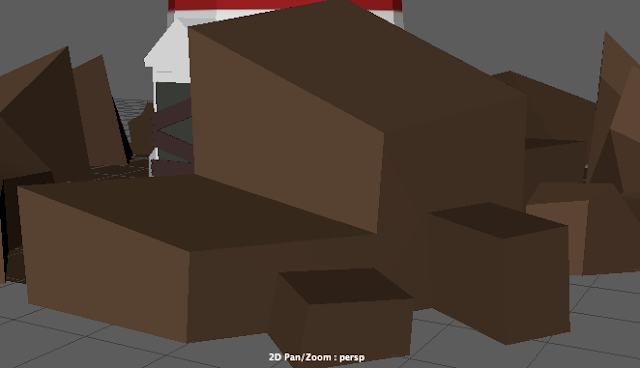
Instead, in order to achieve the look I was aiming for, I created the rocks individually, or rather clusters of rocks individually, starting from a cube polygon primitive. I then adjusted vertices, edges and faces mould them into more of a rock-like formation. Simplicity was key in emulating Browning's style, as essentially no rock has more than four sides and I wanted the rocks to look a certain way from a certain perspective, so that each side appeared almost triangular and two dimensional. I then strung these clusters of rocks together around the lighthouse on top of a plain brown flat polygonal plane.
I coloured the faces of the rock formations in Maya, opting not to use UV maps. To do this I assigned a lambert texture to the mesh and coloured the faces individually, assigning separate lamberts to different tones of brown. I coloured the faces relative to where I had placed the light in the scene so that it was universally consistent with the light cast on the lighthouse.
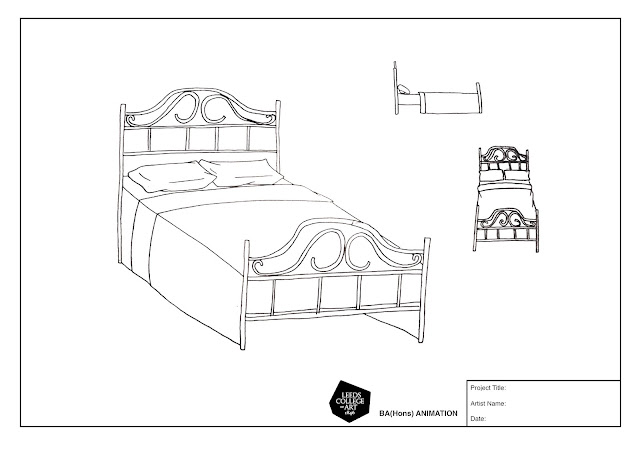
As well as the Lighthouse and the Rocks, I wanted the boat in which our character traverses the oceanic dreamscape to be a bed which is modelled in Maya also. Thematically, I chose a double bed in order to reflect the character's mindset. The style is low poly and blocky in keeping with the style established so far with the rest of the CG assets. Logistically it also makes sense to have the bed be CG as we require it from numerous different camera angles and perspective shots, and using a 3D object cuts down significantly on having to redraw art assets. Before I started modelling, much like with the lighthouse, I created a design sheet to use as reference for the modelling with a front, side and perspective view in order to gauge the shape and form of the bed.
The bars of the bed were created from rescaled cylindrical polygon primitives, but the real challenge for me came from creating the swirls. In order to do this I created a CV Curve and snapped a cylinder to the path of the curve in order to create a curved polygon which follows the path of the curve without clipping and can be resized and reshaped to that path fairly easily. I then duplicated and mirrored the curve to create the top of the bed frame. I did experiment with smoothing out the mesh for the bed frame, but felt that a more angular, cylindrical bed frame was more in keeping with the aesthetic I have established so far.
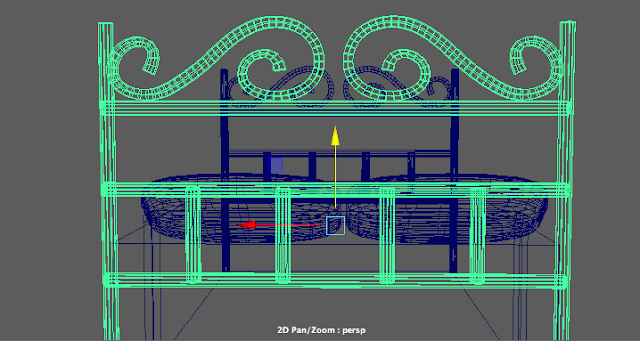
The rest of the bed was fairly simple to model, consisting again mostly of polygon primitives, manipulated with simple edge loop tools and extrusions. For the bedcovers and mattress I used a simple cube primitive and for the pillows I used the smoothing tool on a rough mesh I created using the polygon creation tool to create flat curved shapes. I was not planning to UV map the bed, so I coloured the faces by assigning lambert textures to the meshes, much like I did with the rock clusters.
UV Mapping
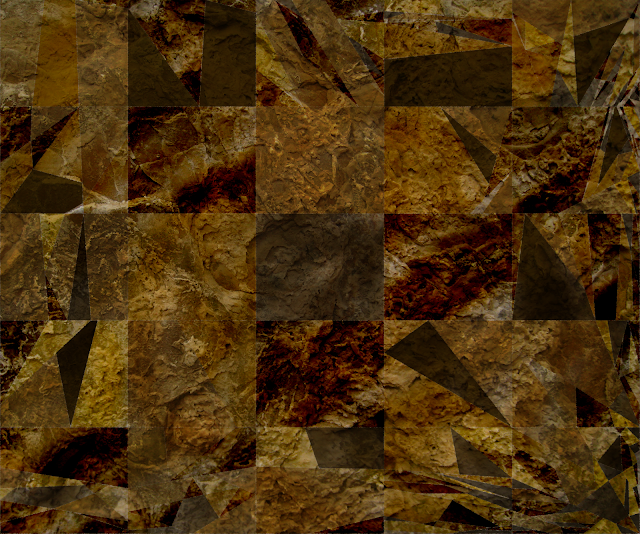
The initial plan before starting the modelling process was to create UV Maps from the objects I had created and send the UV Snapshots to Vlad to colour and texture in Photoshop to ensure we were evenly and fairly distributing the workload. However, after receiving and applying the UV maps, I was not satisfied with the results. I feel a low poly style for models should be reflected in every aspect of the design, so having low poly models with high quality, highly detailed textures leads to a lot of dissonance and does not really fit the aesthetic as much a more simple design. That said, the textures Vlad created do work well on their own, just for the style we are going for they don't exactly fit.
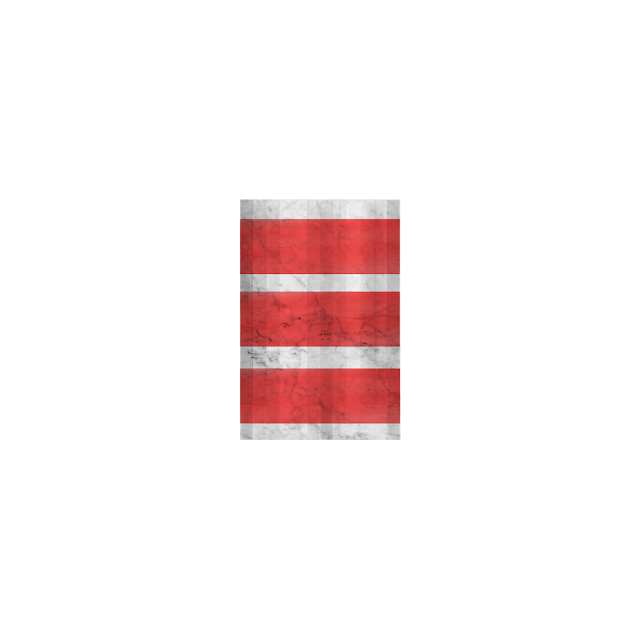

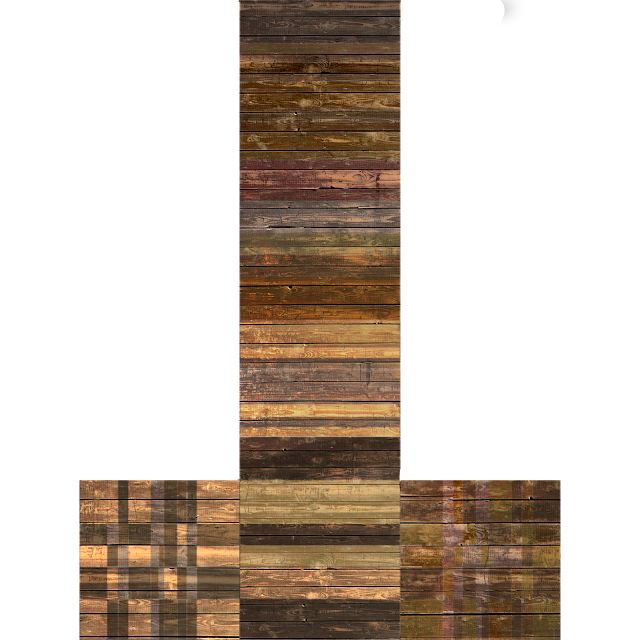
Instead, I created my own, simpler UV Maps instead, using a flat colour scheme which I feel brings out the shape and form of the models more, extenuating the sharp edges and simple shapes in a more visually appealing way. I only ended up creating a UV Map for the main Lighthouse Cylinder and opted to colour the rest of the Meshes in Maya by assigning Lambert Textures to objects and colouring individual faces.
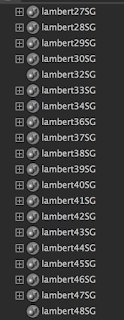
After speaking with the tutor however, I am aware of the pitfalls of using this technique to colour objects, cluttering up the Outliner Window for instance, but I do feel for what I am doing with this project, which is very limited and not a fully 3D animation, it will do for now. I had a lot of trouble applying UV Maps which fit the object, mostly because of my approach to modelling. For future projects I will take into account how I will go about applying the UV Maps before beginning the modelling process, whether this be by creating more design sheets beforehand or simplifying meshes by deleting assets which aren't visible from the outside.