
As a part of this module and as an induction to the ceramics workshop we were tasked with creating plastercine models based off our characters. The process of creating a plastercine model is a longer and more intricate process than you may initially think. In order for the model to remain upright and be fully posable, a wireframe must be assembled which the plastercine is then moulded around.

(Sheet I used as reference. I marked down on my drawing where I would put the joints and sections of plastercine.)
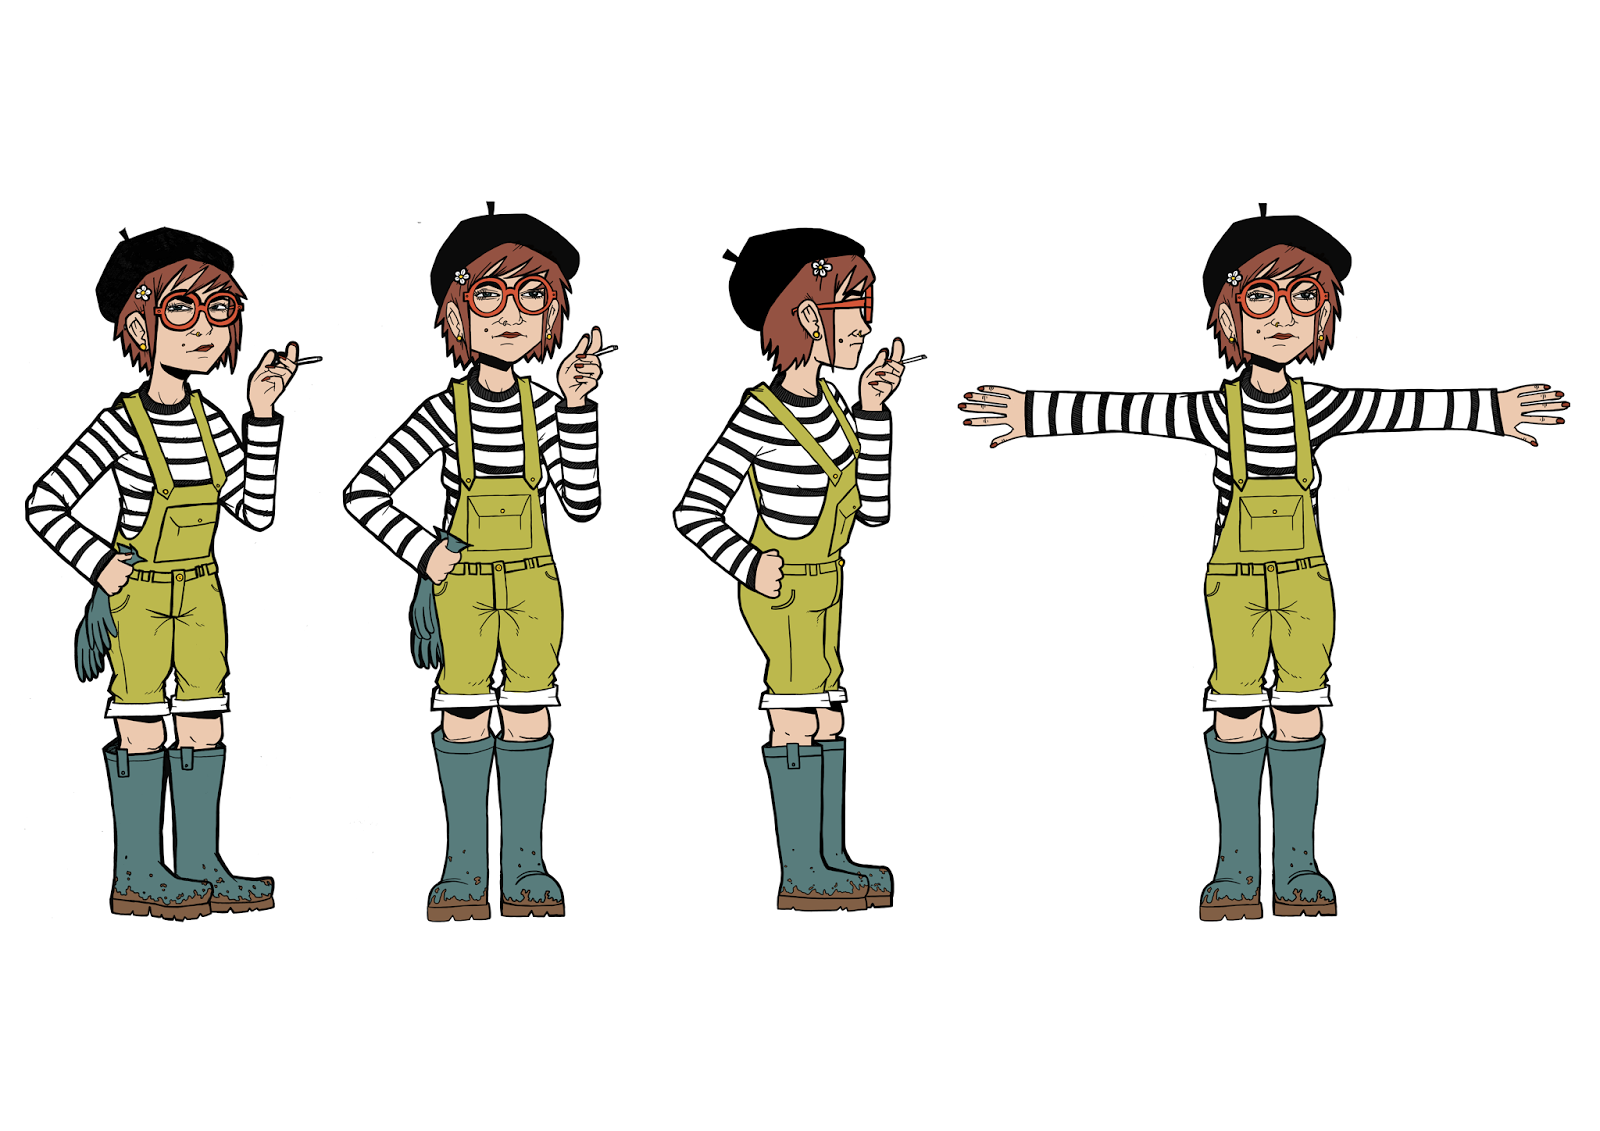
(The model sheet I used as reference when planning out my model.)
One of the biggest problems I encountered in the making of my model was keeping the posture straight, because I didn't properly mix the milliput on an important joint meaning the putty didn't dry properly, my character appeared to be leaning back in an unnatural posture. Instead of admitting defeat, I opted to embrace this newfound posturing, changing the pose of my character to reflect the posture of the wireframe model.
Before moulding the plastercine around my model I had to attach it to the stand we made in the woodwork shop. To do this we twisted the wire of the feet around bolts which were fastened into the stand, allowing for the model to stand upright.
After the milliput had hardened I proceeded with moulding the plastercine around the wireframe to create my character. Aware that I had little experience in the area of modelling in plastercine I opted for a more simplistic design aesthetic, reminiscent of internet animator Lee Hardcastle and early Aardman animation, particularly Nick Park's early models for Wallace and Gromit: A Grand Day Out.

I used the keyframes I had been developing for my Turnaround and my coloured model sheet as reference when deciding on how to go about modelling. I tried breaking down my character into simpler primitive shapes. Aspects of the design, such as the hair, were simplified so they could be more easily moulded and other intricate details such as the glasses and the mole on the character's face were omitted, though I did make an attempt to make a pair of miniature glasses out of wire, but ultimately decided against including them. The character is also not wearing a stripy long sleeved top, and instead wearing a plain white one. This was another way of simplifying the design to fit the media I was using.

The finished product, pictured above, turned out much better than I expected. I am particularly happy with the character's facial expression, which I believe effectively conveys the emotions and personality of the character as envisioned on the model sheets. Though I do wish the final model were less rigid and a little more posable, I am satisfied with how the model conveys body language and look forward to using it as a part of the Greenscreen induction later on in this module. Though I don't really see myself specialising in the field of Stop Motion animation any time in the future, I found the modelling workshop pleasantly surprising and a rewarding experience which has piqued my interest in the medium and allowed me to take a step out of my comfort zone and experiment with different media.
No comments:
Post a Comment