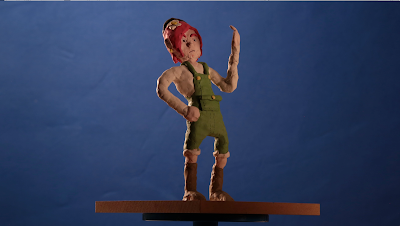
As a part of our AV induction we were introduced to the Bluescreen. Originally we were supposed to use greenscreen for compositing our images, however as my character model is wearing green clothes, I chose a Bluescreen over a Greenscreen as to avoid any complications. When using a Bluescreen/Greenscreen it is important to make sure the lighting illuminates the background without casting any shadows. To ensure this we set up two studio lights to illuminate either side of the model and give the background as flat a colour as possible.
For the turnaround we used a piece of software called Dragonframe, often used for Stop Motion by studios such as Aardman and in feature films such as Coraline and Boxtrolls. It allowed us to quickly take photographs using a computer hooked up to a DSLR camera without having to do it manually. The model was attached to a turntable and moved slightly each time I took a photograph. These images were then exported as a TIFF sequence and imported into After Effects as a composition.
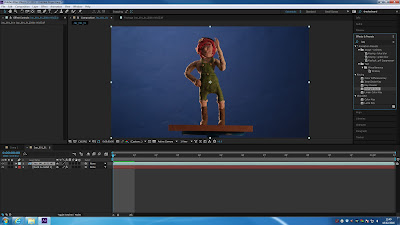
Once I imported the TIFF sequence into After Effects I applied Keylight from the Effects Panel, applied the effect to the colour blue using the eyedropper tool and selected the Screen Matte option...
…this allowed me to view the video in Black and White. In B&W it is easier to control the threshold between what is being masked out by the Bluescreen and what isn't, allowing me to define the edges of my model.
Once my model was effectively spliced onto the Bluescreen I applied a mask around the edges to erase the stand which the character was standing on.
Once I had finished that I searched the internet for stock footage of fire so I could composite it into my turnaround. I wanted the fire to be both in the foreground and background in order to give the short turnaround a degree of depth. The fire in the foreground had to go through a similar process to the Turnaround, as the footage I was using included a greenscreen which had to be composited out.
The result is what you see below.


No comments:
Post a Comment